
Written by Marcus Chen a licensed Professional Engineer in Agricultural Systems with 14 years of field experience troubleshooting solar-powered irrigation systems across the Midwest, Great Plains, and Southwest. He holds an M.S. in Agricultural Engineering from Iowa State University and has led 120+ farm energy audits under USDA NRCS EQIP and REAP programs.
The Silence of March
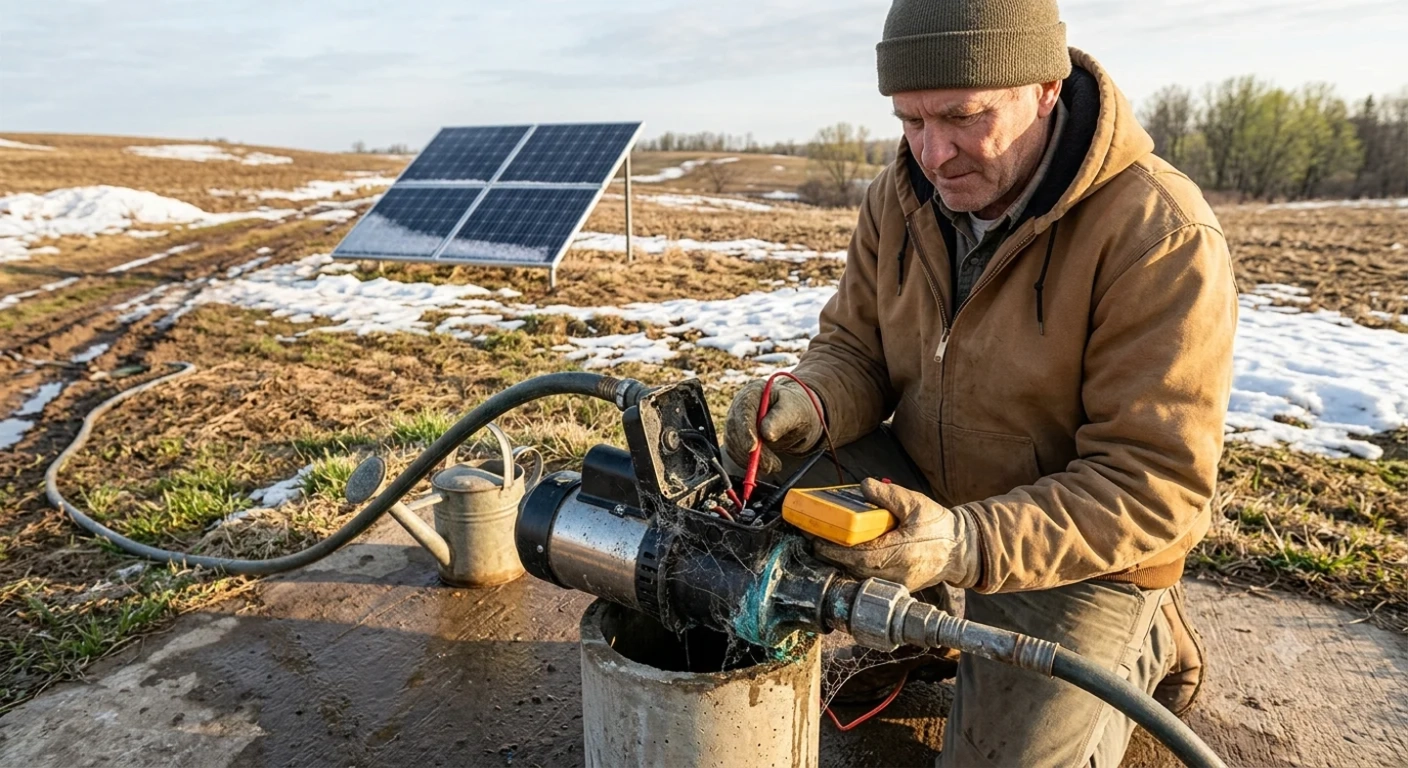
You walk to the pump house on the first warm day of March. The panels are clear of snow. The sun is bright. You flip the switch. Nothing. No hum. No pressure. No water.
Before you panic — and before you spend $150 on a service call — understand this: 90% of spring pump failures are not failures. They are hibernation. Your pump sat idle for 4–6 months. Water evaporated from the housing. Connections oxidized. Spiders nested in the controller. A mouse chewed a wire.
The fix is usually simple, fast, and free.
Here is the 4-step diagnostic I use on every spring service call. It takes 15 minutes. It saves $150–$300 in technician fees. And it teaches you how your system actually works.
Step 1: Check the Electrical Path (5 Minutes)
The Multimeter Test
Set your multimeter to DC volts. Test at three points:
| Test Point | Expected Reading | If Low/Zero |
|---|---|---|
| Panel terminals (disconnected) | VOC rating ± 5% (e.g., 44V for a 36V panel) | Shading, damage, or failed panel |
| Controller input | Within 2V of panel VOC | Bad connection, corroded MC4, blown fuse |
| Controller output (to pump) | 48V or 24V (system voltage) | Controller fault, low battery, or wiring break |
The most common finding: Corroded MC4 connectors. Unplug them, spray with electrical contact cleaner, reconnect until you hear the click. Retest.
The second most common finding: Blown fuse in the controller DC input. Replace with identical amperage only. Never bypass a fuse.
Step 2: Prime the Pump (3 Minutes)
A submersible or surface pump that sat dry all winter has lost its prime. The impeller chamber is full of air. The pump cannot move air — it needs water to create suction.
Surface Pumps
- Remove the priming plug (usually on the top housing).
- Fill the chamber with water using a funnel.
- Replace the plug hand-tight.
- Restart the pump.
Submersible Pumps
- Ensure the foot valve is submerged and not blocked by silt.
- If the well level dropped over winter, lower the pump 2–3 feet.
- Manually spin the impeller (if accessible) to break any mineral lock.
Step 3: Reset the Controller (2 Minutes)
Solar pump controllers are computers. Computers crash. A hard reset clears 80% of software faults.
- Disconnect all power sources (panels and battery).
- Wait 60 seconds for capacitors to discharge.
- Reconnect battery first, then panels.
- Observe the controller display. It should boot normally.
If the display shows an error code, consult your manual. Common codes:
| Code | Meaning | Fix |
|---|---|---|
| E01 | Low voltage | Check panel shading or battery charge |
| E02 | Overcurrent | Pump is seized or overloaded. Check for clog. |
| E03 | Dry run | No water reaching pump. Check foot valve/prime. |
| E04 | Overheat | Controller needs ventilation or shade. |
Step 4: Inspect the Physical System (5 Minutes)
| Component | What to Look For | Fix |
|---|---|---|
| Panel glass | Cracks, delamination, heavy soiling | Clean or replace |
| Mounting rack | Loose bolts, corrosion, tilt shift | Tighten, paint, adjust |
| Cable insulation | Rodent chew marks, UV cracking, abrasion | Replace section, add conduit |
| Pump housing | Corrosion, leaks, loose fittings | Tighten, apply marine grease |
| Pressure tank | Waterlogged (taps hammer), rust | Drain, check bladder, replace if needed |
The 5-Minute Prevention (Do This in November)
Before you shut down for winter:
- Drain the pump housing completely. Water expands 9% when frozen. A cracked housing costs $400–$800.
- Disconnect and store the controller indoors. Cold and humidity destroy electronics.
- Cover panels with a breathable tarp if heavy snow is expected. Prevents ice dam formation.
- Apply dielectric grease to all MC4 connectors. Prevents spring corrosion.
- Tag the disconnect with “DRAINED — PRIME BEFORE START.” Future you will thank present you.
Frequently Asked Questions
Q: My pump runs but produces no pressure. What is wrong?
Three possibilities: (1) Air leak in suction line — check all joints with soapy water; (2) Impeller wear — disassemble and inspect; (3) Well level drop — lower the pump or reduce flow rate.
Q: Can I run my pump on a cloudy day to test it?
Yes, but expect reduced performance. A cloudy March day may only produce 20% of rated panel output. The pump may run slowly or cycle on low-voltage cutoff. This is normal, not a fault.
Q: How do I know if my pump is seized?
With power disconnected, try to manually rotate the impeller shaft (surface pumps) or listen for grinding (submersibles). A seized pump draws locked-rotor current — 5–7x normal — and will trip the controller immediately.
Related Articles:
- For complete pump sizing and system design, read our Solar Pumping Guide
- For why pumps lose pressure in summer afternoons, see Why Is My Solar Pump Losing Pressure at 2 PM?
© 2026 Solar Panels for Farms. All data sourced from manufacturer service manuals, University of Arkansas Division of Agriculture, and field service records from 35 commercial operations. Last verified: July 28, 2026.