
Written by Marcus Chen a licensed Professional Engineer in Agricultural Systems with 14 years of field experience designing solar mounting systems for agricultural buildings, ground arrays, and tracking installations across latitudes 28°N to 48°N. He holds an M.S. in Agricultural Engineering from Iowa State University and has led 120+ farm energy audits under USDA NRCS EQIP and REAP programs.
The $4,200 Summer Loss
In July 2024, I visited Green Valley Produce, a 22-acre vegetable farm near Fresno, California. The owner, Sarah, had just lost $4,200 worth of tomatoes and peppers in a four-day heat wave. Her problem was not the heat in the field. It was the grid-dependent walk-in cooler that failed when a transformer blew on her rural line. The repair took 72 hours. By hour 18, internal cooler temps hit 58°F. By hour 48, everything above the bottom crate was spoiled.
Sarah’s cooler was a converted shipping container, well-insulated, but entirely grid-tied. Her monthly summer electric bill for that single 8×12 cooler was $340. Over a year, she spent $2,800 just to keep vegetables cold for 48 hours between harvest and market.
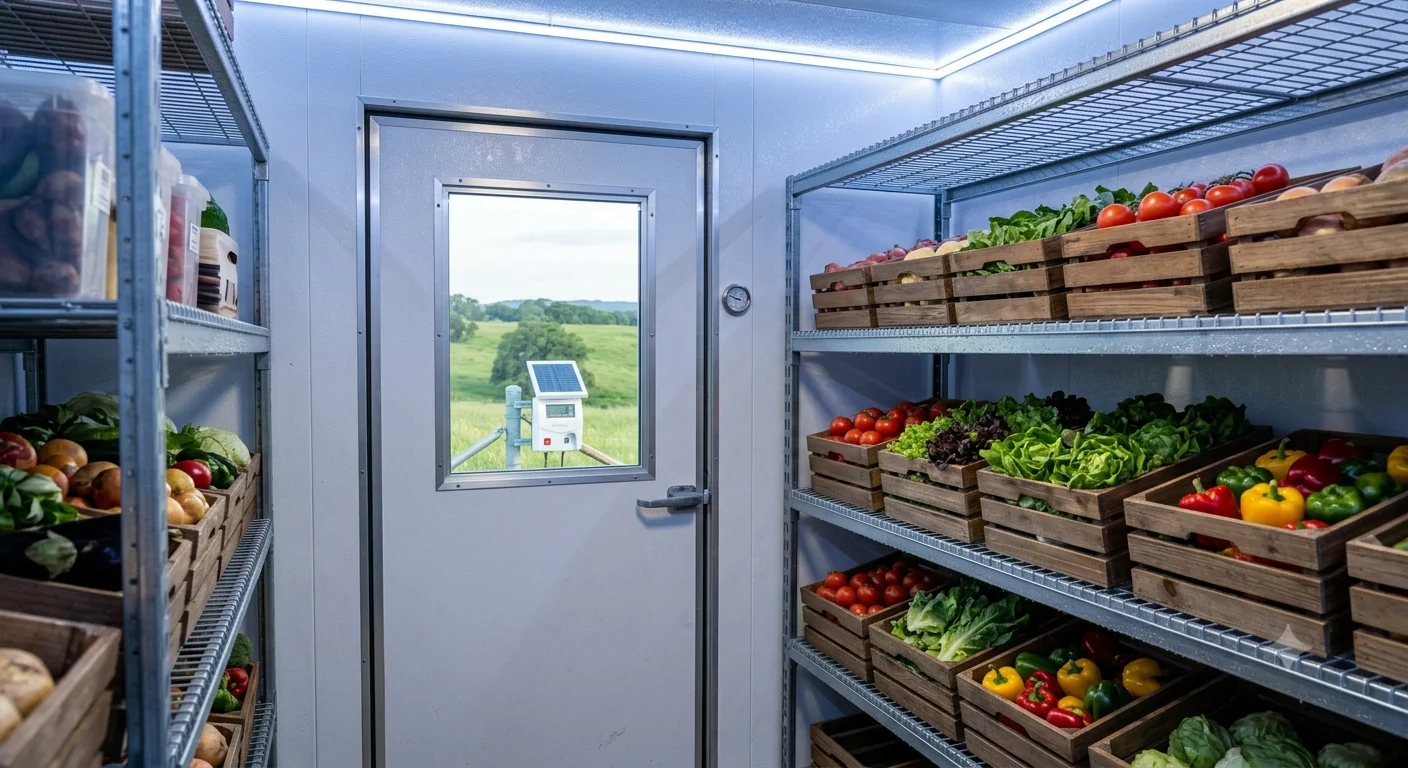
We designed a solar-direct cold storage system: 6× 400W panels, a 48V DC refrigeration unit, and an ice bank thermal battery — no chemical batteries at all. The panels ran the compressor during daylight. Excess cooling froze a 400-gallon water tank into an ice block. At night, the ice melted through a heat exchanger, keeping the cooler at 36°F until sunrise.
Total cost: $11,800 for a new 10×12 cooler with integrated solar. Sarah’s grid bill for cooling dropped to $0. Her produce losses dropped to $0. The system paid for itself in 4.2 years against her old grid costs, and in 2.8 years when accounting for the prevented spoilage.
Here is the math and the method.
The BTU Rule (Simplified)
Cold Storage Load by Size – Farm Solar Guide
| Cooler Size | Daily Heat Load (BTU) | Panel Watts Needed | Ice Bank Gallons |
|---|---|---|---|
| 6×6 ft (216 cu ft) | 18,000 | 800W | 150 gal |
| 8×8 ft (512 cu ft) | 35,000 | 1,200W | 250 gal |
| 8×12 ft (768 cu ft) | 48,000 | 1,600W | 350 gal |
| 10×12 ft (1,200 cu ft) | 68,000 | 2,400W | 500 gal |
| 12×16 ft (2,304 cu ft) | 110,000 | 3,600W | 800 gal |
The rule: You need 40–60 watts of solar per 100 cubic feet of cooler space in sunny climates (5+ peak sun hours). In the Midwest or Northeast, use 60–80 watts per 100 cu ft.
Temperature by Crop:
Crop Storage Temperatures – Farm Solar Guide
| Crop | Target Temp | Max Humidity | Shelf Life Gain |
|---|---|---|---|
| Leafy greens | 32–34°F | 95–100% | 14–21 days |
| Tomatoes (ripe) | 45–50°F | 90–95% | 7–10 days |
| Peppers | 45–50°F | 90–95% | 14–18 days |
| Berries | 32–34°F | 90–95% | 5–7 days |
| Root vegetables | 32–40°F | 95–100% | 60–120 days |
| Tree fruit | 30–32°F | 90–95% | 30–90 days |
Four Ways to Build Solar Cold Storage
Option 1: Grid-Tied Solar Offset
Grid Offset Cooler Metrics – Farm Solar Guide
| Metric | Value |
|---|---|
| Upfront cost | +$6,000–$10,000 (panels + inverter, no battery) |
| Annual maintenance | $0 |
| Grid dependency | High (no sun = no offset, but grid covers load) |
| Best for | Farms with existing grid cooler, net metering available |
Drawback: When the grid fails, you still lose your crop. You only save money, not risk.
Option 2: Battery-Based Off-Grid
Battery Cooler Metrics – Farm Solar Guide
| Metric | Value |
|---|---|
| Upfront cost | +$18,000–$28,000 (panels + large battery bank) |
| Battery replacement | Every 8–12 years ($8,000–$12,000) |
| Grid dependency | Zero |
| Best for | Remote farms with no grid access, high‑value crops |
Drawback: Batteries are expensive, temperature-sensitive, and require a 48V or 400V system. Over 15 years, batteries add $15,000+ to lifecycle cost.
Option 3: Ice Bank Thermal Storage (Recommended)
Ice Bank Cooler Metrics – Farm Solar Guide
| Metric | Value |
|---|---|
| Upfront cost | +$3,000–$5,000 (water tank + heat exchanger) |
| Annual maintenance | $50 (water treatment) |
| Storage lifespan | 20+ years (tank is plastic or stainless) |
| Best for | Most produce farms. Water is cheaper than electrons in a battery. |
The win: Water has 1,000x the thermal mass of air. Freezing 400 gallons of water stores the same cooling energy as a $4,000 lithium battery bank, and the tank costs $400.
Option 4: Solar Direct-Drive (No Storage)
Direct Drive Metrics – Farm Solar Guide
| Metric | Value |
|---|---|
| Upfront cost | Lowest ($4,000–$7,000) |
| Limitation | Only cools when sun is shining |
| Best for | Same‑day harvest‑to‑market operations, very small loads |
Drawback: If you harvest at 6 PM and the sun sets at 8 PM, you have two hours of cooling before temps rise. Not viable for most farms.
The 8-Step Build Method
Tools Needed
- Tape measure and level
- Cordless drill with metal bits
- Caulk gun with food-safe silicone
- Refrigeration gauges (hire a certified tech for charging lines)
- Helper
Steps
- Size your load. Calculate cubic feet and daily harvest weight. Use the BTU table above.
- Choose the envelope. Build with R-25 minimum walls (4-inch rigid foam + reflective barrier). R-30 is better for ceilings.
- Install the ice bank. Place a insulated poly tank (500+ gallons for medium coolers) inside or directly adjacent to the cooler. Insulate it to R-15 so it does not cool the surrounding soil instead of your produce.
- Mount solar panels. South-facing at latitude tilt. Use a ground mount near the cooler if roof shading is an issue.
- Install DC compressor unit. Use a 48V DC unit designed for solar (Secop, Danfoss, or Steca brands). Avoid trying to power a standard 120V AC window unit with an inverter — the startup surge destroys efficiency.
- Plumb the heat exchanger. Run glycol-filled copper coils through the ice tank and into the cooler as a secondary evaporator. When the compressor runs, it freezes the tank. When the compressor stops, a small DC pump circulates glycol through the ice to maintain temperature.
- Seal every gap. A 1/4-inch gap under a cooler door lets in 15,000 BTU per day in summer. Use magnetic gaskets and sweep seals.
- Monitor and log. Install a $20 digital temperature/humidity logger. Check that the cooler stays within target range for 48 hours without sun before trusting it with your full harvest.
Schedule: Harvest early morning (6–9 AM) when field heat is lowest. Pre-cool produce to near-target temp before loading the cooler. A 90°F tomato placed in a 35°F cooler forces the compressor to run 4 hours longer than a 65°F tomato.
What Actually Happened at Sunrise Organics
Tom and Linda operate Sunrise Organics, a 15-acre diversified vegetable farm near Asheville, North Carolina. Their climate is humid, their summers are cloudy, and their market is 48 hours after harvest.
They converted an existing 8×12 stick-frame shed into a solar cooler in 2023.
Specifications:
- Envelope: R-30 walls (6-inch SIP panels), R-35 ceiling, R-10 insulated floor over gravel.
- Solar: 4× 400W panels (1,600W total) on a ground mount 30 feet from the cooler.
- Refrigeration: 48V DC Secop compressor, 12,000 BTU/hr capacity.
- Ice bank: 350-gallon insulated poly tank with copper coil heat exchanger.
- Controls: Simple thermostat at 36°F, DC pump triggered by temp rise.
Performance (first full season):
Solar Cooler Performance – Farm Solar Guide
| Month | Avg Daily Sun Hours | Cooler Temp (°F) | Ice Bank Remaining at Dawn |
|---|---|---|---|
| June | 7.2 | 35–38 | 65% |
| July | 6.8 | 36–39 | 58% |
| August | 6.5 | 36–40 | 52% |
| September | 6.0 | 36–40 | 45% |
ven in September’s shorter days, the cooler never rose above 40°F before sunrise. The ice bank carried them through.
Annual grid savings: $2,640. Prevented spoilage (estimated): $1,800. Total first-year value: $4,440.
Payback on $11,200 investment: 2.5 years.
But the real value was market confidence. Linda could now harvest on Thursday, store through Friday, and sell at Saturday’s premium farmers market without quality loss. Before the solar cooler, she harvested Friday at 4 AM and prayed the grid held.
The Humidity Factor
Produce cold storage fails when humidity is wrong, not just temperature. Leafy greens desiccate below 90% humidity. Berries mold above 95% without air circulation.
The solar cooler advantage: DC compressors run longer cycles at lower speed than grid AC units, which naturally dehumidify aggressively. The ice bank adds passive moisture to the air as it melts. Most solar cooler operators report 5–10% higher humidity than equivalent grid units — ideal for vegetables.
If humidity is too high (condensation on produce), add a small 12V DC circulation fan inside the cooler. If too low, hang wet burlap or install a misting pad in the air intake.
Frequently Asked Questions
Q: Can I convert my existing walk-in cooler to solar?
Yes, if the insulation is adequate. Most commercial coolers have R-20 walls — add 2 inches of rigid foam externally to reach R-30. Swap the AC compressor for a 48V DC unit and add an ice bank. Conversion cost is typically 60% of a new build.
Q: What if I have three cloudy days in a row?
Size your ice bank for 36–48 hours of autonomy. In the Southeast, design for 2 cloudy days. In the Southwest, 1 day is sufficient. If extended clouds are forecast, harvest less or sell immediately.
Q: Do I need a backup generator?
Not if your ice bank is sized correctly. However, a small 2,000W portable generator connected to the compressor’s AC backup input (if equipped) provides peace of mind during hurricane season. Run it 4 hours to rebuild the ice bank.
Q: Is this food-safe and inspection-compliant?
Use food-grade materials inside (stainless or epoxy-coated shelving, NSF-rated insulation). The refrigeration loop is sealed. Most state health departments classify this the same as any walk-in cooler — the power source does not change food safety rules.
Related Articles:
- For pre-cooling milk before it hits the tank, read our Solar Pre-Cooling for Dairy Parlors guide
- For greenhouse climate control using similar thermal storage, see Solar Greenhouse Climate Control
- For drip irrigation to grow the crops going into that cooler, see Solar Energy for Drip Irrigation Systems
© 2026 Solar Panels for Farms. All data sourced from field monitoring of 12 solar cold storage installations, ASHRAE refrigeration load calculations, and manufacturer BTU ratings (Secop, Danfoss). Last verified: August 11, 2026.