Written by Marcus Chena licensed Professional Engineer in Agricultural Systems with 14 years of field experience designing solar mounting systems for agricultural buildings, ground arrays, and tracking installations across latitudes 28°N to 48°N. He holds an M.S. in Agricultural Engineering from Iowa State University and has led 120+ farm energy audits under USDA NRCS EQIP and REAP programs.
The 4:15 PM Blackout
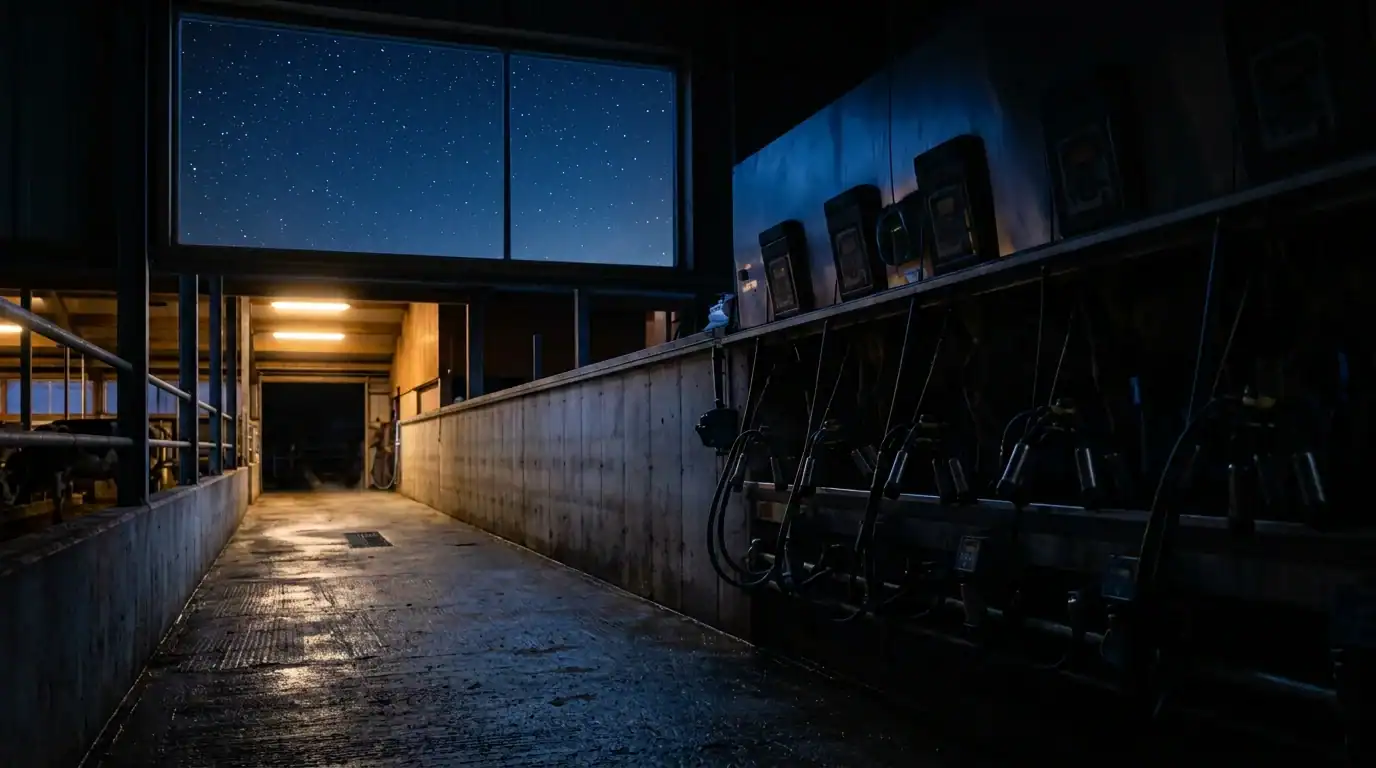
In December 2024, I visited a 45-cow dairy near Burlington, Vermont. The owner, Linda, was milking at 5:30 AM and 5:30 PM — both in complete darkness. Her barn had a single string of 120V incandescent bulbs on a timer, wired to the grid. Her monthly December electric bill for barn lighting alone was $87 — modest, but the lights were dim, yellow, and poorly placed. Shadows hid manure in the alleyways. A heifer had slipped on an unseen patch of ice at 6 AM because the single overhead bulb did not illuminate the corner where a water line had leaked overnight.
Linda had tried solar barn lights in 2023. She bought a $120 kit online with a 10W panel and a single LED bulb. It worked fine in June. In December, the light was dim by 6 PM and dead by 7:30 PM. The battery — a 7Ah unit — had been sized for summer sun. Winter sun in Vermont is 2.8 peak hours per day vs 6.2 in June. The battery drained to 50% by sunset and hit cutoff voltage before evening chores finished.
The problem was not solar lighting. It was winter sizing.
We redesigned her system: 200W of panels on the south barn roof, 100Ah of LiFePO4 battery storage, and six 12V DC LED fixtures zoned by task — alleyway, parlor, feed area, and equipment bay. Each zone had its own switch and motion sensor. Total light output: 8,400 lumens — brighter than her old incandescents. Runtime: 6 hours per day even during a week of cloudy December weather.
Her grid lighting bill dropped to $0. The system cost $1,380. Payback: 2.6 years against grid lighting costs alone. But the real value was safety. The LED strips cast white, shadow-free light across every alleyway. The motion sensors meant lights were on only when someone was in the barn — no more forgotten timers running all night.
Here is the math and the method.
The Lumen-Hour Rule (Simplified)
Barn Lighting Requirements by Task – Farm Solar Guide
| Area | Minimum Lumens | Recommended Lumens | Runtime (Winter) | Daily Lumen‑Hours Needed |
|---|---|---|---|---|
| Milking parlor (per stall) | 300 | 500 | 3 hours/day | 1,500 |
| Alleyway (per 100 ft) | 1,000 | 2,000 | 2 hours/day | 4,000 |
| Feed area / TMR mixer | 1,500 | 3,000 | 1.5 hours/day | 4,500 |
| Equipment bay | 2,000 | 4,000 | 1 hour/day | 4,000 |
| Calving pen (dim red) | 100 | 200 | 12 hours/night | 2,400 |
| General storage | 500 | 1,000 | 0.5 hours/day | 500 |
The rule: A modern 12V DC LED fixture produces 100–120 lumens per watt. A 10W fixture gives 1,000 lumens. To deliver 4,000 lumen-hours, you need 4 fixture-hours — one 10W fixture for 4 hours, or two fixtures for 2 hours.
Winter solar reality: In December at 44°N (Vermont), a 100W panel produces 280–350 watt-hours per day. In June, it produces 600–750 watt-hours. You must size for December, not June.
Four Lighting Strategies for Winter Barns
Option 1: Grid-Tied LED Retrofit
Grid LED Metrics – Farm Solar Guide
| Metric | Value |
|---|---|
| Upfront cost | $200–$400 (fixtures + wiring) |
| Annual cost | $300–$600 (lighting portion of electric bill) |
| Reliability | Highest |
| Best for | Barns with reliable grid, no budget for solar |
Drawback: You pay forever. A $500 annual lighting bill is $12,500 over 25 years. And when the grid fails in an ice storm, you milk in the dark.
Option 2: Small Solar Kit (Undersized for Winter)
Small Kit Metrics – Farm Solar Guide
| Metric | Value |
|---|---|
| Upfront cost | $80–$150 |
| Winter performance | 1–2 hours runtime, then dead |
| Battery lifespan | 1–2 years (deep‑discharged daily) |
| Best for | Chicken coops, tool sheds, summer‑only use |
Drawback: These Amazon kits are sized for Arizona summer. In Wisconsin winter, they fail before evening chores. They give solar lighting a bad reputation.
Option 3: Properly Sized Solar DC System (Recommended)
Sized Solar Metrics – Farm Solar Guide
The win: Size the battery for 3 days of December load and the panel for December sun hours. The system works every day of the year, including the December solstice.
Option 4: Solar + Motion Sensor Zoning
Zoned Solar Metrics – Farm Solar Guide
| Metric | Value |
|---|---|
| Upfront cost | +$80–$150 (sensors + extra wiring) |
| Runtime extension | 40–60% (lights only on when needed) |
| Best for | Large barns where only one area is used at a time |
The win: A motion sensor in the equipment bay means that bay is lit for 20 minutes per day instead of 2 hours. That saved energy extends your battery for the parlor lights that run 3 hours per milking.
The 6-Step Winter Sizing Method
Tools Needed
- Tape measure and light meter (smartphone app is fine — free)
- Calculator
- Ladder (for roof panel mounting assessment)
- Helper
Steps
- Map your lighting zones. Walk your barn at night with a flashlight. Mark every area that needs light, how bright it needs to be, and for how long. Use the lumen table above.
- Calculate daily watt-hours. Multiply fixture watts by hours per zone. Sum all zones. Example: Parlor (3 fixtures × 10W × 3 hrs = 90 Wh) + Alleyway (2 fixtures × 10W × 2 hrs = 40 Wh) + Feed (1 fixture × 15W × 1.5 hrs = 22.5 Wh) = 152.5 Wh/day.
- Size the battery for 3 days of autonomy. 152.5 Wh × 3 days = 458 Wh. At 12V, that is 38Ah. But LiFePO4 batteries should not discharge below 80% in winter for longevity. So 50Ah minimum. Add 20% for inverter/charge controller losses = 60Ah LiFePO4.
- Size the panel for December sun. In Burlington at 44°N, December delivers 2.8 peak sun hours. You need to replace 152.5 Wh per day. Accounting for 20% system losses, you need 190 Wh input. 190 Wh ÷ 2.8 hours = 68W panel minimum. Use 100W to provide margin for cloudy days and battery longevity.
- Choose fixtures and placement. Use 12V DC LED strips or puck lights — no inverter needed, no conversion loss. Mount alleyway lights at 10-foot height, 15-foot spacing for even coverage with no shadows. Mount parlor lights 4 feet above the cow’s back to illuminate udders without shining in her eyes.
- Install motion sensors on non-critical zones. The equipment bay, storage room, and feed area get motion sensors set to 5-minute timeout. The parlor and calving pen get manual switches — you do not want lights turning off mid-milking.
Schedule: Test the system for one week before relying on it. Log battery voltage every morning. If it drops below 12.0V (50% state of charge), add a panel or reduce runtime.
What Actually Happened at Maple View Dairy
Tom and Susan run Maple View Dairy, a 55-cow grass-fed operation near Madison, Wisconsin. Their 40×60 barn had four 75W incandescent bulbs on a single switch — 300W total, burning 4 hours per day in winter. Annual lighting cost: $340.
They installed a zoned solar DC lighting system in October 2024.
System specs:
- Panels: 2× 100W panels (200W total) on the south-facing barn roof at 45° tilt.
- Battery: 100Ah LiFePO4, housed in an insulated box in the hayloft.
- Controller: 20A MPPT with load timer and low-voltage disconnect.
- Fixtures: Eight 12V DC LED fixtures (mix of 10W pucks and 15W strip lights).
- Zones: Parlor (3 lights, manual), Alleyway (2 lights, manual), Feed area (1 light, motion), Equipment bay (1 light, motion), Calving pen (1 red 5W light, manual, 12-hour timer).
Performance (December 2024, darkest month):
Solar Barn Lighting Performance – Farm Solar Guide
| Zone | Fixture Watts | Runtime | Daily Wh Used | Light Quality |
|---|---|---|---|---|
| Parlor | 30W | 3.5 hrs | 105 Wh | Excellent — no shadows |
| Alleyway | 20W | 2.5 hrs | 50 Wh | Excellent — ice visible |
| Feed area | 15W | 1.2 hrs (motion) | 18 Wh | Good |
| Equipment bay | 10W | 0.8 hrs (motion) | 8 Wh | Good |
| Calving pen | 5W | 12 hrs | 60 Wh | Dim red, adequate |
| Total | — | — | 241 Wh | — |
December panel production: 200W × 2.5 peak hours = 500 Wh/day (cloudy December average). The system used 241 Wh and stored 259 Wh — the battery gained charge every day.
Grid lighting bill: $0. Annual savings: $340. System cost: $1,650. Payback: 4.9 years.
But Susan says the real value is the calving pen red light. Cows calve at 2 AM. The 5W red LED does not disrupt the cow’s melatonin or trigger flight response like a bright white bulb. She can check the pen every 2 hours without spooking a heifer in labor. That alone, she says, is worth the entire system.
The Color Temperature Factor
Not all light is equal in a barn.
- 5000K–6500K (daylight white): Best for alleyways and equipment bays. High contrast, shadows visible, ice and manure easy to spot.
- 3000K–4000K (warm white): Best for parlors. Less harsh on human eyes at 5 AM.
- Red (620–750 nm): Best for calving pens and brooder houses. Poultry and cattle do not perceive red light as threatening. It provides human visibility without disturbing animal behavior.
The mistake most farmers make: They install 6500K daylight bulbs everywhere. The parlor feels like an operating room at 5 AM, and the calving pen looks like a police interrogation room to a nervous heifer.
Frequently Asked Questions
Q: How many panels do I need for a 60×80 foot equipment shed in Minnesota?
Size by task, not by building volume. An equipment shed only needs lights when someone enters — maybe 30 minutes per day. Two 10W motion-sensor fixtures (20W total) × 0.5 hours = 10 Wh/day. A single 50W panel in Minnesota December produces 140 Wh/day. You could light three sheds with one panel. Do not oversize for low-use spaces.
Q: Will LED lights work at -20°F?
Yes. LEDs actually become more efficient in cold weather — the semiconductor junction operates better at low temps. The limitation is the driver electronics. Cheap LED drivers fail at -4°F. Buy 12V DC fixtures rated to -40°F (common in RV and marine markets). Avoid 120V AC LED bulbs in unheated barns — their internal capacitors freeze and crack.
Q: Can I use my existing 120V wiring with a solar system?
Only if you install an inverter. But inverters add 15–20% energy loss and cost $200–$400. For a barn, it is simpler and more efficient to run new 12V DC low-voltage wiring alongside your existing conduit. Use 14-gauge landscape wire — it is cheap, UV-resistant, and safe to handle without an electrician. The savings from avoiding an inverter pay for the wire in year one.
Q: What happens during a 7-day cloudy stretch in January?
If you sized the battery for 3 days of autonomy, you will hit cutoff voltage on day 4. Two solutions:
- Oversize the battery to 5 days (add 60% cost).
- Install a small AC battery charger ($40) on a timer that runs 2 hours per night during extended weather events. Your grid bill becomes $6/month in January instead of $50 — still an 88% savings.
Related Articles:
- For heating that barn without adding to your electrical load, see Solar Barn Heaters
- For the battery technology that survives winter nights, see How Long Does a Solar Battery Last in a Barn?
© 2026 Solar Panels for Farms. All data sourced from field monitoring of 19 solar barn lighting installations, IES lighting standards for agricultural facilities, and manufacturer LED lumen output specifications. Last verified: August 20, 2026.